How to add an injury
Step 1 — Open Add Injury from the patient
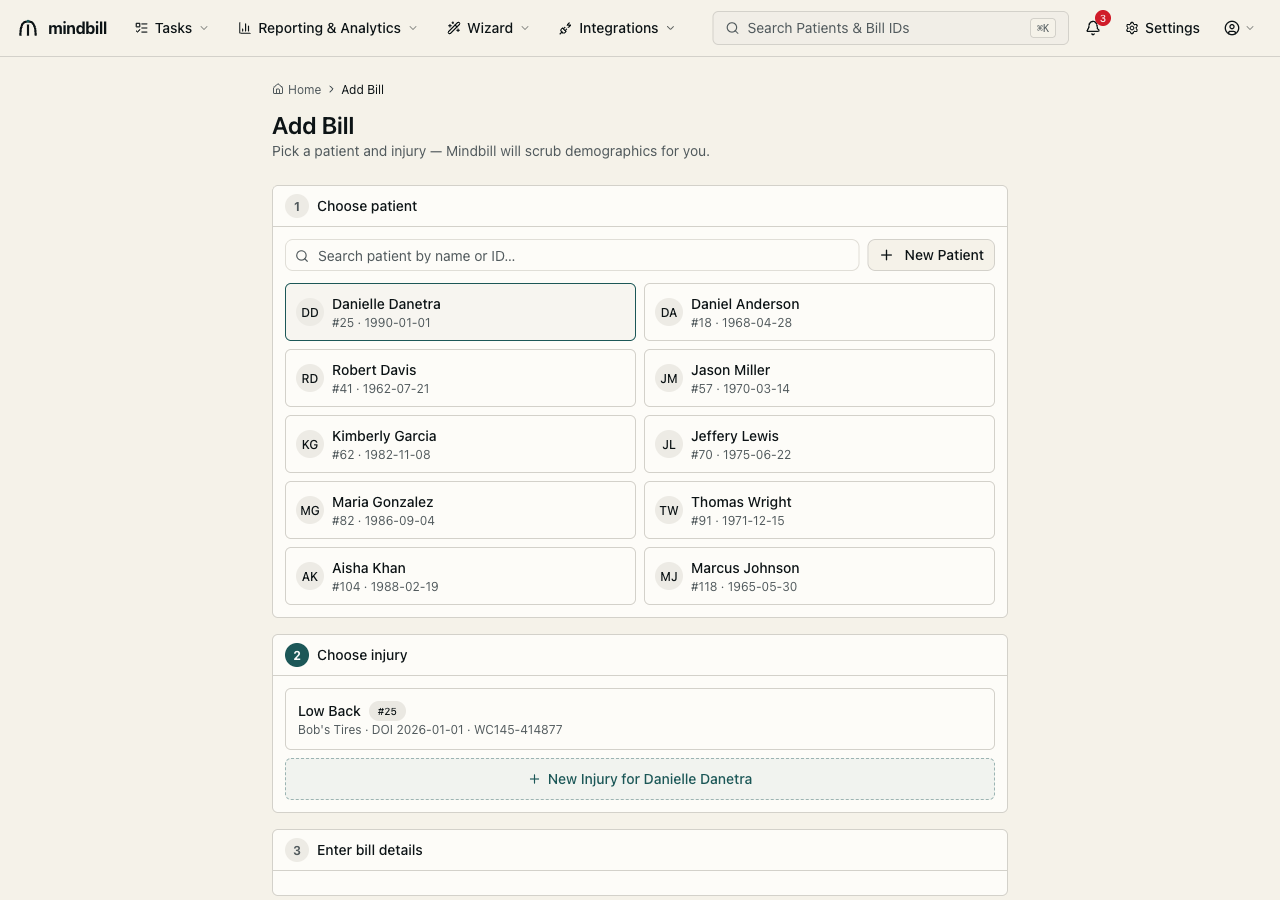
Open the injured worker's record and hit Add Injury. The claim is created right on the patient, so everything — bills, documents, and contacts — stays linked to the worker. (Existing injuries appear as cards showing the description, employer, date of injury, and claim number, e.g. Low Back · Bob's Tires · DOI 2026-01-01 · WC145-414877; click one to bill against it instead.)
Step 2 — Enter the description, employer, and DOI
Paste the body-part description straight from the report, name the employer of record, and set the date of injury. These are the legal spine of the claim — enter them exactly as they appear, because the DOI is matched by the payer on every bill.
Step 3 — Enter the claim number (live pattern check)
Enter the claim number assigned by the carrier. Mindbill checks it against the administrator's known format as you type — here it expects the WCA pattern — so a wrong shape is caught before you ever submit. A malformed claim number is a leading cause of OA-100 'bill not on file' rejections, so the live pattern check pays for itself.
Step 4 — Pick the claims administrator
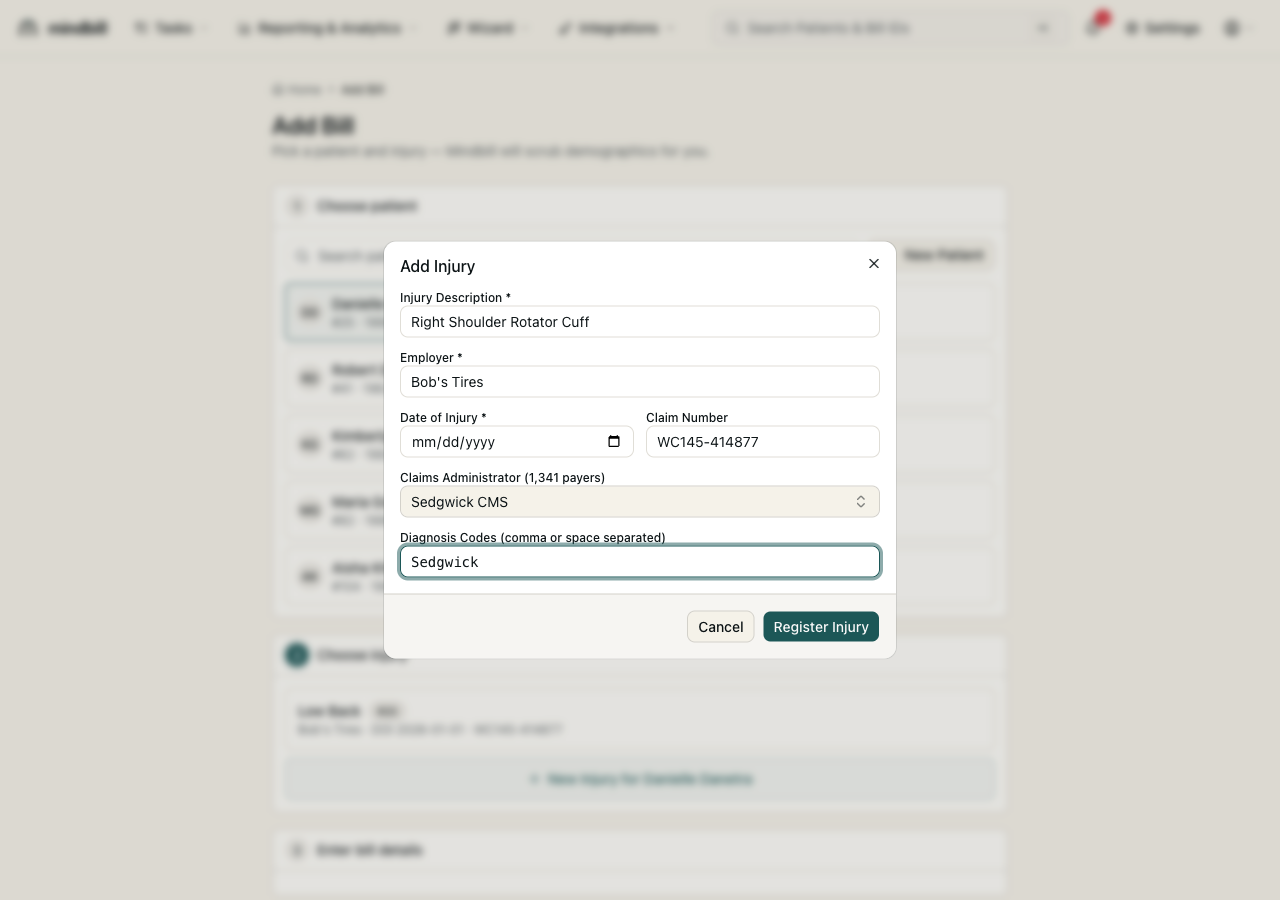
Now the claims administrator. The field searches Mindbill's canonical payer directory — search by name, by an also-known-as alias, or straight by payer ID. Selecting a payer locks its canonical name, routing, and payer ID onto the claim and every bill that hangs off it.
Step 5 — Set injury state, status, and CT flag
Set the injury state (defaults to CA for California workers'-comp) and the claim status — open, accepted, delayed, denied, or closed. If this is a cumulative-trauma claim rather than a specific-date injury, flag it as cumulative trauma so the bill reflects it correctly.
Step 6 — Add the ICD-10 diagnosis codes
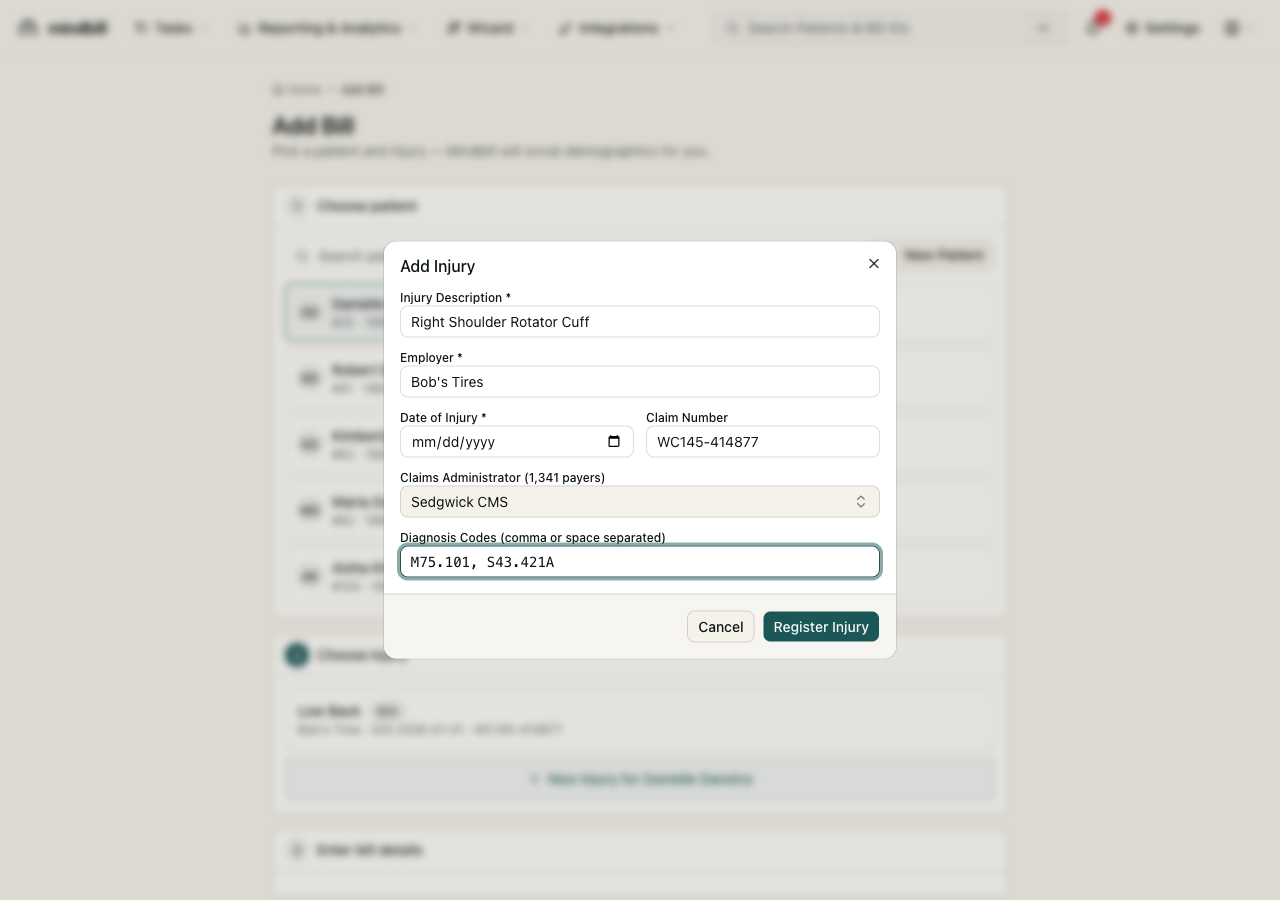
Add the ICD-10 diagnosis codes for the injury (comma- or space-separated, e.g. M75.101, S43.421A). These auto-fill onto every new bill filed under the injury, landing straight in Box 21 of the CMS-1500 — so you set the diagnosis once for the whole claim.
Step 7 — Register the injury
Hit Register Injury and the claim is saved. You land on the claim page — bills, documents, contacts, and the full claim detail, all in one place. From here every bill you file inherits the claim number, claims administrator, and diagnosis codes you just set.