Configuring billing provider settings
Step 1 — Open the settings hub
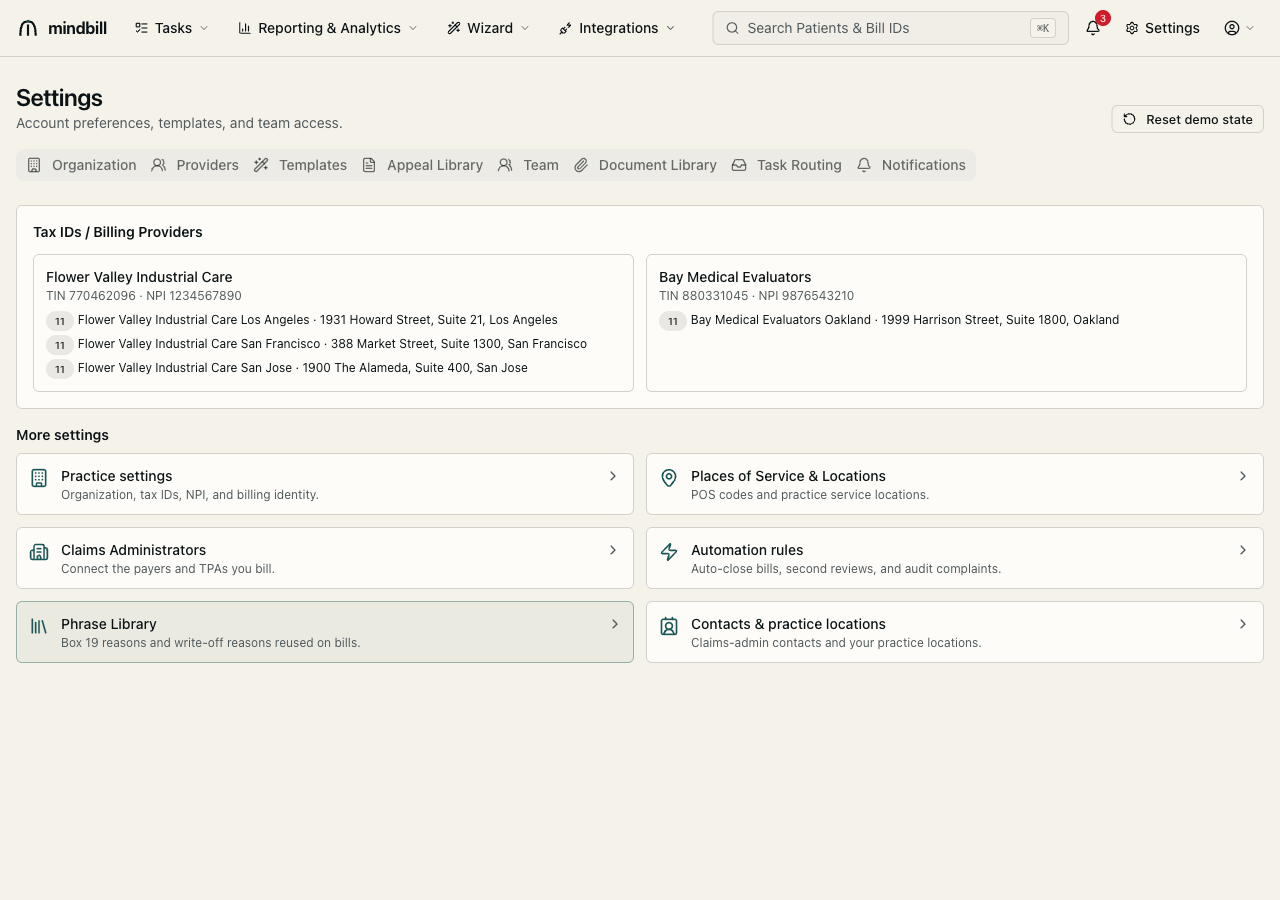
Open Settings. The top of the page is a set of tabs for the things you configure inline — Organization (your Tax IDs / Billing Providers and their service locations), Providers (rendering QME/AME providers with NPI and signature), Templates, Appeal Library, Team (the roster plus the enforced role-and-permission matrix), Document Library, Task Routing, and Notifications. Below the tabs, a More settings grid deep-links to the rest: Practice settings, Locations, Claims Administrators, Phrase Library, Contacts, Bill Recipients, Scheduled Reports, and Auto-close Rules. The Organization tab is where you confirm your billing entities — e.g. Spectrum Medical Evaluators, TIN 770462096 · NPI 1234567890 — and add another billing provider if you bill under more than one tax ID.
Step 2 — Set your billing identity (Practice settings)
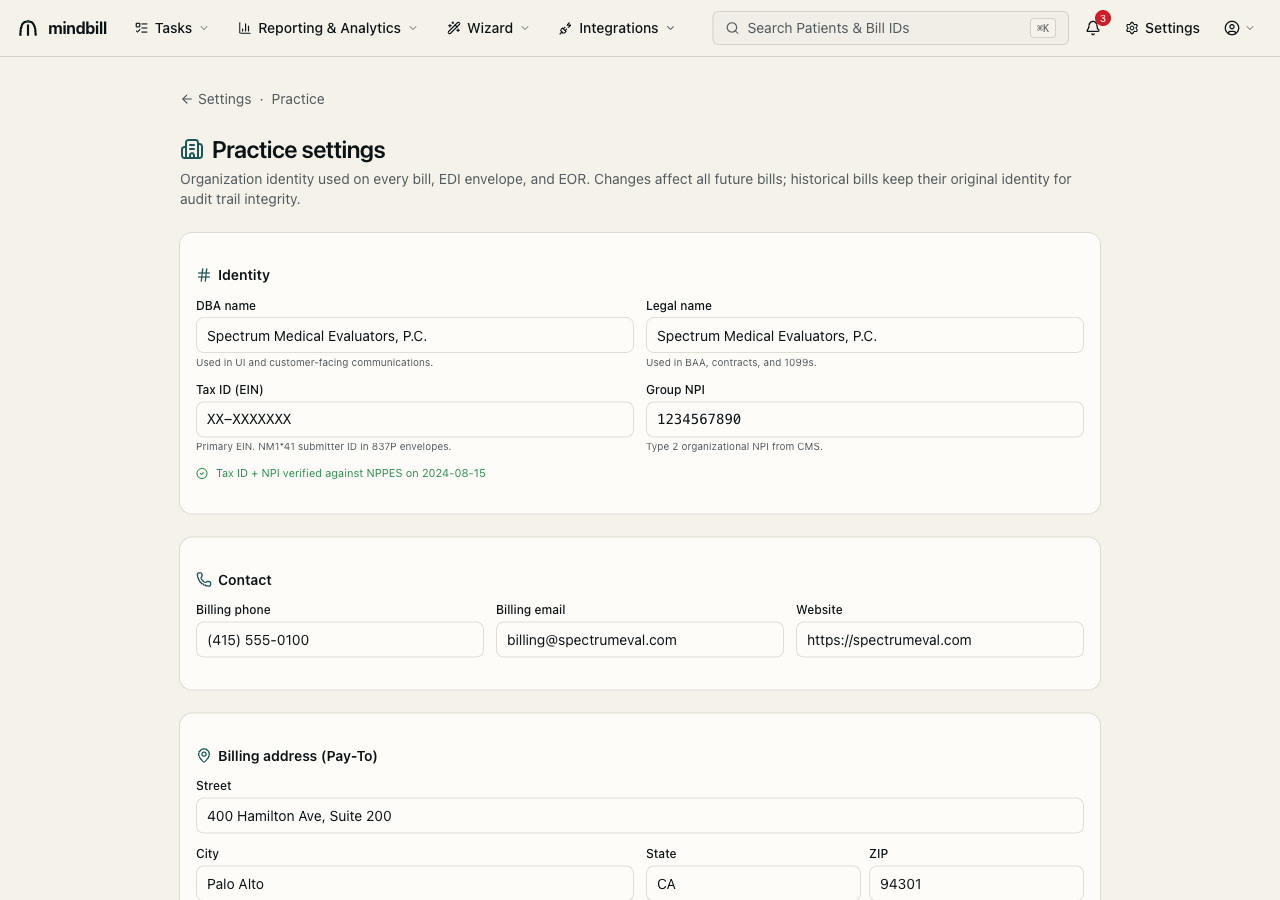
Open Practice settings (/settings/practice) to configure the legal billing identity printed on every bill and carried in the EDI envelope: organization name, Tax ID (EIN) — the REF*EI Tax ID in the 837P billing-provider loop — Group NPI (your Type 2 organizational NPI), website, and the practice locations. The Tax ID and Group NPI as entered are written to outgoing 837P envelopes, and the primary location is the Pay-To address printed on every bill and EOR. If you bill under more than one entity, add additional billing providers from the Organization tab, each with its own TIN and NPI.
Step 3 — Configure the Phrase Library (Box 19 + write-offs)
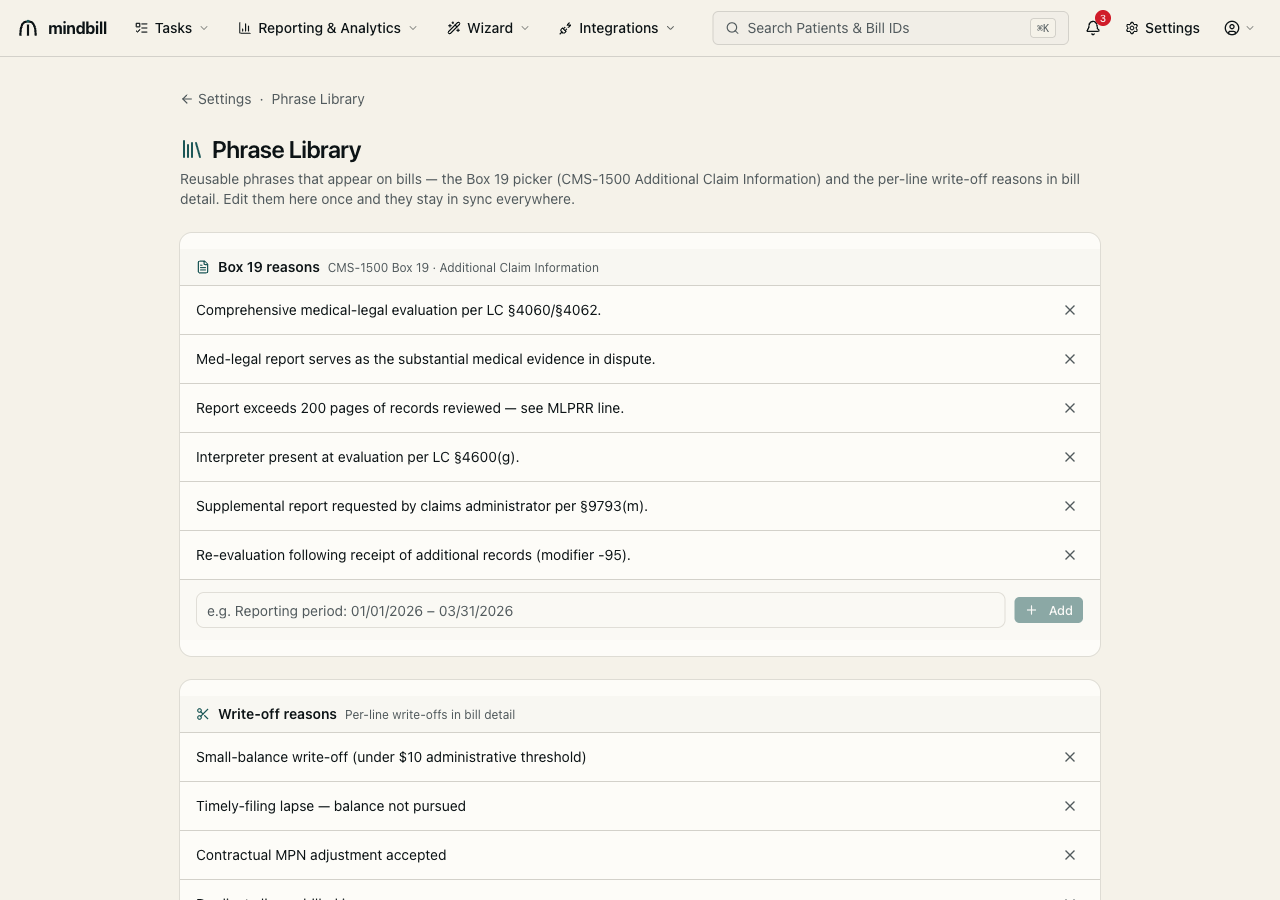
The Phrase Library (/settings/phrase-library) holds the reusable text that appears on bills — the Box 19 picker (CMS-1500 Additional Claim Information) and the per-line write-off reasons used in bill detail. Add a phrase once and it's available to the whole team, so everyone uses consistent, defensible language (e.g. 'Comprehensive medical-legal evaluation per LC §4060/§4062' or 'Report exceeds 200 pages of records reviewed — see MLPRR line'). Standardizing this language is what keeps Box 19 reasons from becoming a source of payer pushback.
Step 4 — Set your Auto-close Rules
Auto-close Rules (/settings/auto-close) decide when a paid bill closes itself instead of sitting in your queue. Per billing provider, you set an expected-fee-schedule percentage window — a Min% and Max% — and a paid bill auto-closes when paid ÷ expected × 100 lands inside it. Each provider gets an 'All Claims Administrators' default; add a per-CA override (a specific claims administrator beats the default) for payers you want to treat differently. Click New rule to pick the billing provider, the claims administrator (or 'All Claims Administrators'), and the Min%/Max%; each rule has an Active toggle, Edit, Delete, and a per-rule change History. With no rule, bills fall back to the org-wide auto-close setting — the 'Auto-close fully-paid bills' toggle on the Auto-closed bills report (/reports/auto-closed), which closes a bill at 100% paid. Note for medical-legal practices: a percentage window would silently close bills a QME evaluator was underpaid on (and must instead pursue via Second Review and IBR), so the Auto-close tile is intentionally hidden for med-legal orgs like Spectrum — underpayments should be appealed, not closed.